

Not long ago a friend asked if i know a system that can help him keep tracking his fleet of trucks and drivers. He wanted to track
Their Current location, if they are on the right track and more.
so i did a little research and found this system called Traccar.
The system has the following futures:
- Support of many GPS protocol and devices.
- Friendly User Interface (Web based)
- Very simple to configure.
- Real time tracking.
- Very Accurate.
- Creating reports.
- Send alert to devices.
- Home assistant integration.
Traccar is small system, written in Java that is running on your local network or cloud and made to help you keep tacking of your mobile devices. in this guide i will show you how to use and install Using Docker-Compose.
Part A – Installation:
The first step is creating a new docker-compose.yaml for the Traccar installation. in order to that write down this commands:
cd ~/docker
mkdir traccar
cd tracar
sudo nano docker-compose.yaml
And paste the following Code:
version: "3.6"
services:
  mysql:
    image: mariadb:latest
    ports:
      - "3306:3306"
    container_name: mysql
    environment:
      - MYSQL_ROOT_PASSWORD=YourSecureMySqlPassword
    volumes:
      - "./mysql:/var/lib/mysql"
    restart: always

  traccar:
    image: traccar/traccar
    container_name: traccar
    ports:
      - 8082:8082
      - 5000-5150:5000-5150
    volumes:
      - ./traccar.xml:/opt/traccar/traccar.xml
    environment:
      - MYSQL_DATABASE=traccar
      - MYSQL_USER=traccar
      - MYSQL_PASSWORD=YourSecureMySqlPassword
      - MYSQL_HOST=mysql
save the file by pressing Ctrl + X, Y and enter.
and run this command to deploy the containers.
sudo docker-compose up -dNow, after the deployment has done, open your browser and browse to your server ip: http://server_ip:8082.
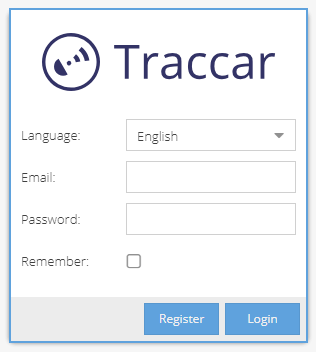
the first screen you’ll see will be the registration form that will allow you create the admin Account:
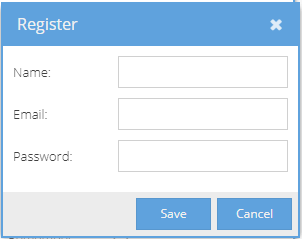
Hit The Register button, fill up your information and Hit Save.
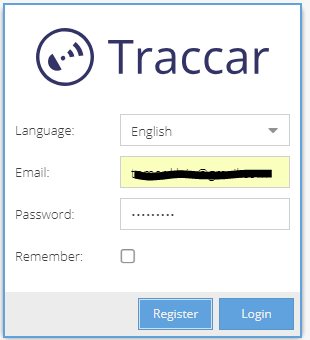
Now you can hit Login and continue to system setup
Part B – Install Traccar Application and configure
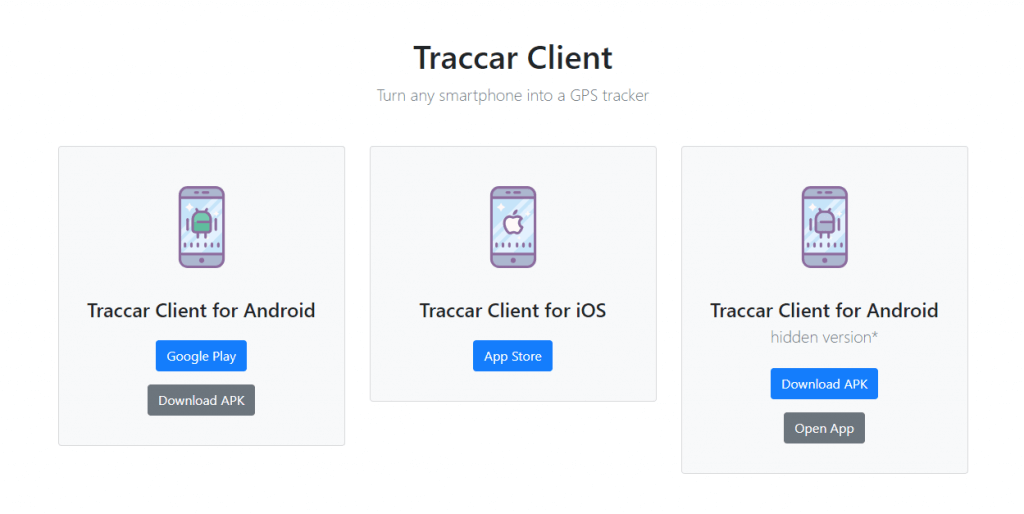
Now, after we have installed the server we need to install Traccar application on your mobile devices, Download instructions can be found Here .
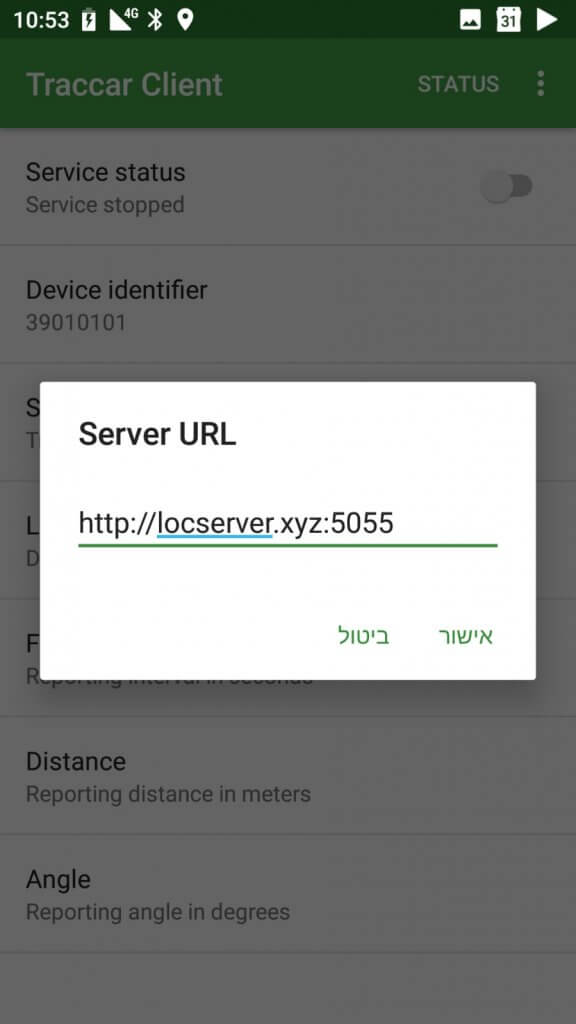
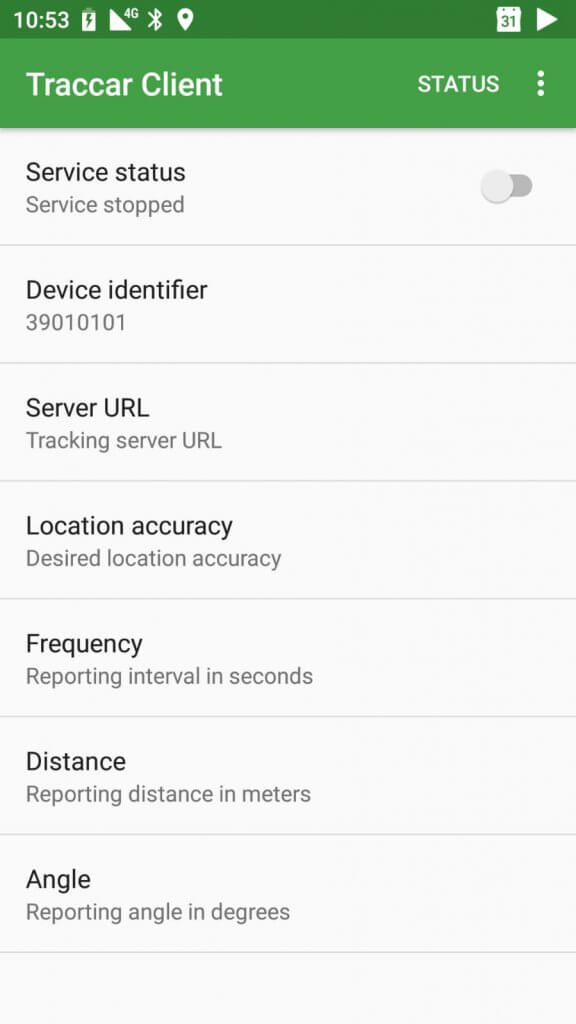
After you have installed the app, open it and go to settings. in the server url enter your serve ip address / domain and port. the default (and most common is 5055).
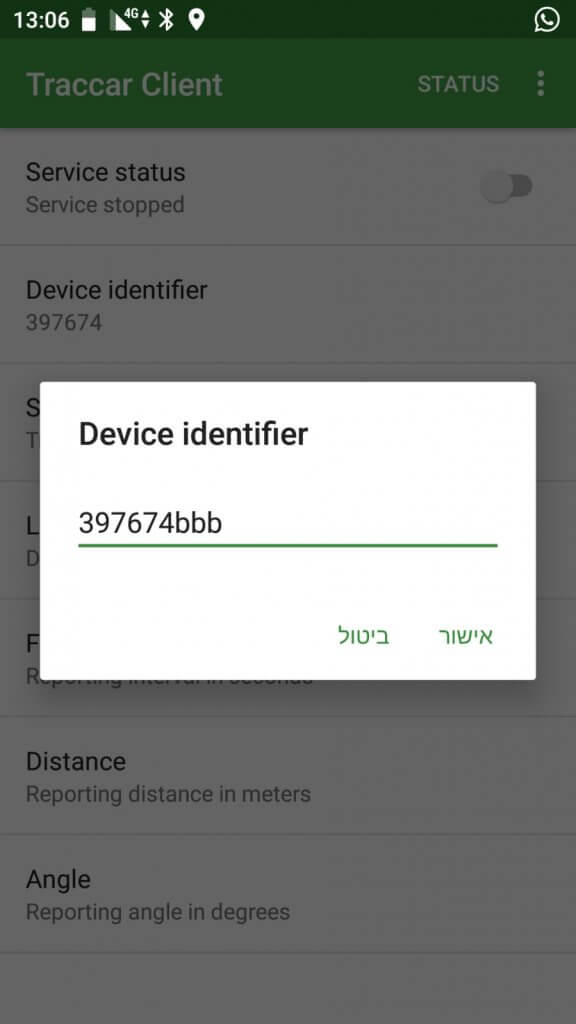
now you will have to set up device Unique id that will identify you device on the system.
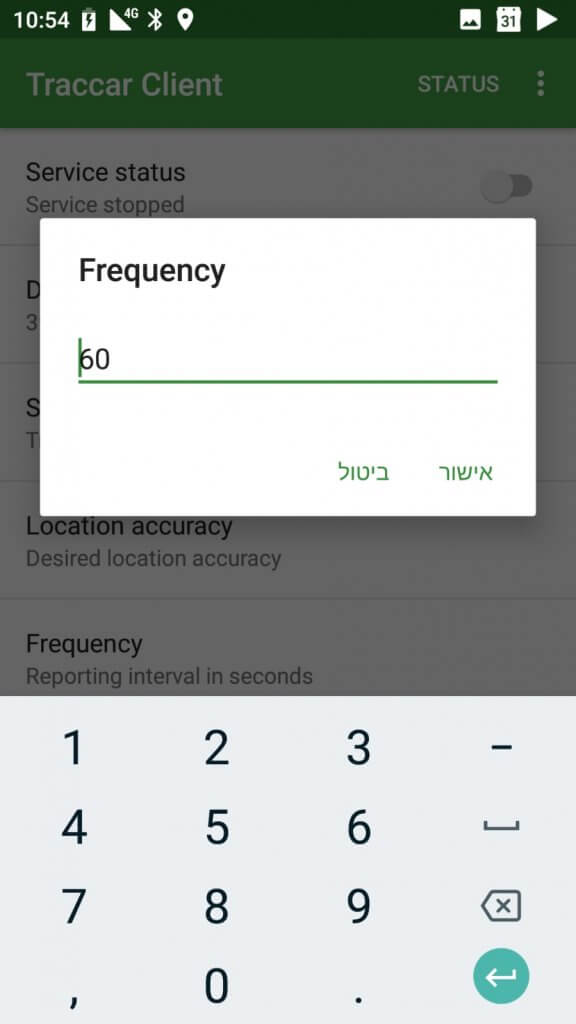
Next we will setup the Location update Frequency, the default is 360 seconds, i changed it to 60.
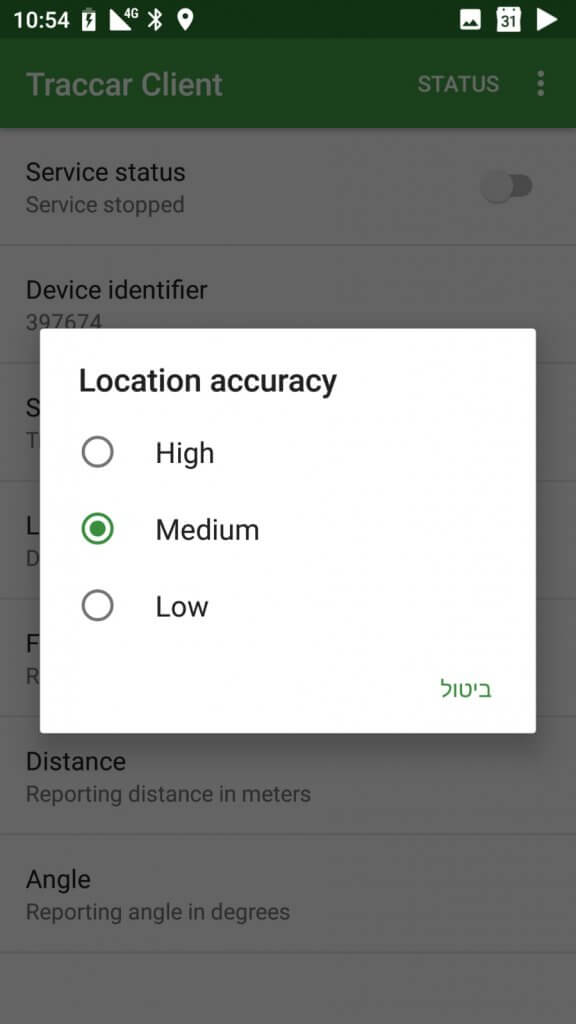
and the last Parameter will be the GPS Location Accuracy.
Now, after we have configured the application side, lets go back to the server and add our mobile device to the tracking list.
in order to do that, click the “+” sign on the left side.
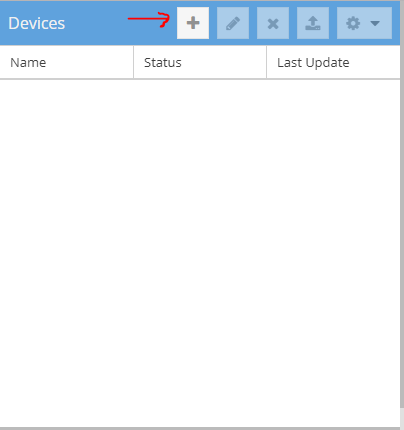
A window will popup. fill the details of the device (in this stage will fill only the basic Required fields).
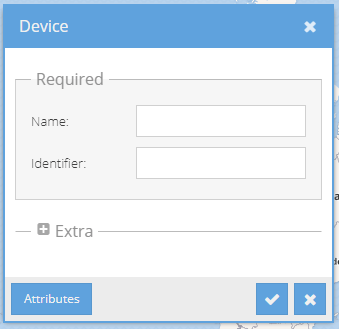
Hit the save button, and than in the application start the service by clicking the switch.
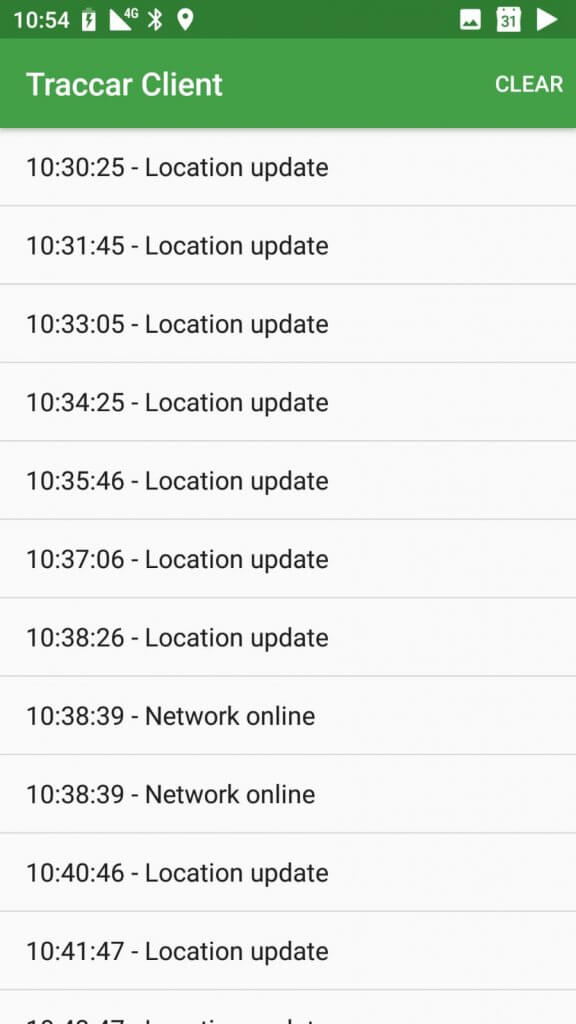
If you’ll click the “status” label on the top right corner you will able to see if there are connection errors and the connection log.
Waite a few moments and get back to the server interface, you should be able to see a small green dot which is your current position.

Part C – Configure Traccar as Home-Assistant device tracker
In this section I will explain how to use Traccar as Home-Assistant device tracker. since version 83.0 Home-Assistant has officially included Traccar in the components list (you can read more Here) and that made the integration very easy.
So, in order to add Traccar into Home-Assistant all you have to do is to add the following section into your configuration file and restart Home-Assistant
device_tracker:
  - platform: traccar
    host: [traccar server address]
    port: [port]
    username: [email]
    password: [password]
Be sure to replace:
- host – Your Traccar Server IP Address
- Server Port (Optional)
- username – the email address you use to logon the system.
- password – the password you use to logon the system.
If known_devices.yaml does not exists Home-Assistant will create it for you, if the file does exist Home-Assistant will auto add the following lines:
my_device:
  hide_if_away: false
  icon:
  mac:
  name: my device
  picture:
  track: true
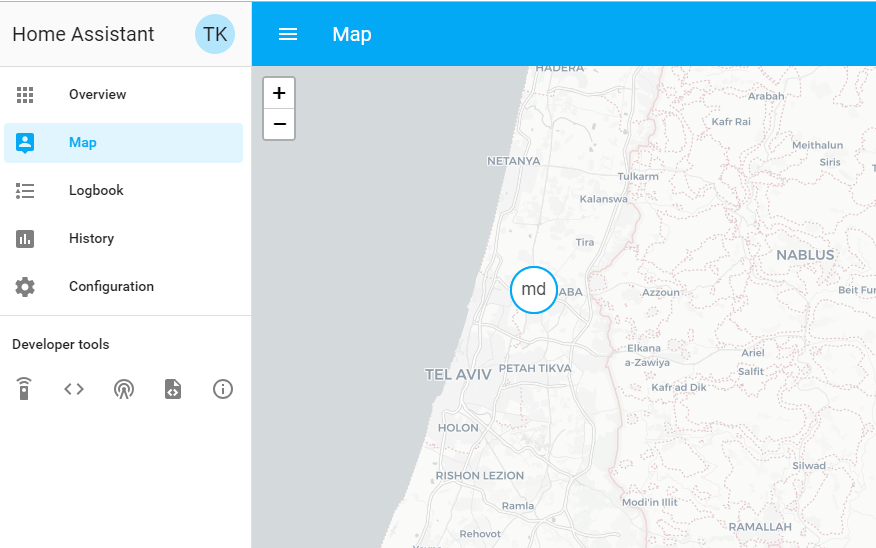
and you will able to see your device on the map
Part D – Using Nginx
Using Nginx as reverse proxy will help you to secure your system a bit.
instead of using Port Forwarding you will be able to use Custom domain or sub domain under http/https protocol.
simply add the following lines into your Nginx configuration and be sure to set your sub domain, server address and ports correctly.
server {
    server_name [web interface domain like traccar.xyz];
    listen 80;
    location / {
        proxy_pass http://192.168.x.x:8082;
        proxy_set_header Host $host;
        proxy_set_header X-Forwarded-For 192.168.0.1;
        proxy_set_header X-Forwarded-Proto $scheme;
        # the next 3 lines are for cocket protocol nedded both for web ui and mobile app
        proxy_http_version 1.1;
        proxy_set_header Upgrade $http_upgrade;
        proxy_set_header Connection "upgrade";

    }
	}

	server {
    server_name [location update domain like loc.xyz];
    listen 80;
    location / {
        proxy_pass http://192.168.x.x:5055;
        proxy_set_header Host $host;
        proxy_set_header X-Forwarded-For 192.168.0.1;
        proxy_set_header X-Forwarded-Proto $scheme;
        # the next 3 lines are for cocket protocol nedded both for web ui and mobile app
        proxy_http_version 1.1;
        proxy_set_header Upgrade $http_upgrade;
        proxy_set_header Connection "upgrade";

    }
	}
Good luck!
Leave a Reply