There is a lot you can say about Home-Assistant, but what i like the most is that it’s Allows us to easily add or create custom components that fits our needs.
while other device tracker components like Zanzito, Owntracks, iCloud and more are using GPS Locator to track devices, there are other Presence detection components that uses ping or Nmap to detect the Presence of device on the network.
In this Guide i’ll show you a custom component that uses Arp-Scan command to scan the network and add any device found to the Known Devices list and like any other device tracker will set the Home/Away status for each and one of the devices.
Part A – Installing Arp-Scan and setting credentials
In order to use Arp-Scan we will have to install it first. in order to do that run the following command:
sudo apt-get install arp-scanand than we will give Home-Assistant the permissions needed to run Arp-Scan command. in order to do that run the following command:
sudo chmod +s /usr/bin/arp-scan
 #if the first command fails, Try the next one:
 sudo chmod +s /usr/sbin/arp-scan
Part B – Adding the custom_component to Home-Assistant
Now, under Home-Assistant configuration folder create new folder and name it “custom_components”. under the newly created folder create another one and name it “device_tracker”.

Now, create new file and call it “arpscan_tracker.py “. than copy the following text into the newly created file:
Now we will add the component settings into Home-Assistant configuration file as follows:
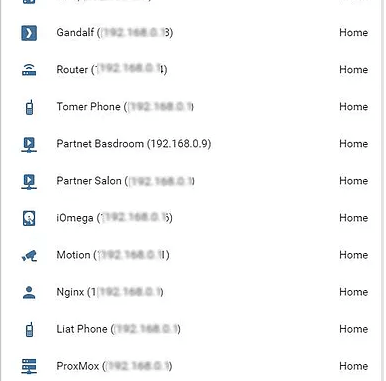
If you did everything correctly you should see that network objects are being added to your “known_devices.yaml” file:
Good Luck!

Leave a Reply