

Introduction
As i was searching for a way to block internet connectivity on my kids mobile devices using Home-Assistant and without having to install application on it’ i came across this 2 articles.
both are good and working, but yet, something was missing. so i decided to take a bit from the first one an combine it with part of the second one and came up with very good solution that allows me to “kill” internet connectivity for multiple devices over the network and also undo it.
Yes, i know that using arp spoofing isn’t the best way of doing it and it makes a lot of noise in my local network but hey, it’s working (as you can see in the video)
in this howto guide i’ll explain how to implement it in few simple steps.
1. Installing ArpSpoof Docker container
because aline does not support ArpSpoof i hade to fine other way to use it, so I have created ArpSpoof docker image based ubuntu and in order to maintain the kiss (Keep It Simple Stupid) principle i wraped it up with python flask.
In order to use the container, edit your docker-compose file and add the following code:
version: "3.7"

services:

  arpspoof:
    image: techblog/arpspoof-docker
 #   build: https://github.com/t0mer/broadlinkmanager-docker.git
    network_mode: host #Network mode must be set to host
    container_name: arpspoof
    restart: unless-stopped
    labels:
      - "com.ouroboros.enable=true"
    volumes:
      - ./arpspoof/arpspoof.py:/opt/arpspoof/arpspoof.py
    environment:
      - ROUTER_IP= #Required Router IP
- INTERFACE_NAME= #Required Interface name- Be aware that the network mode must be set to “host” otherwise it won’t work
- ROUTER_IP – Your router IP
- INTERFACE_NAME – Your docker host Network Interface name
you can use the following command in order to get it
ip route get 8.8.8.8 | sed -nr 's/.*dev ([^\ ]+).*/\1/p'Now run the following command in order to bring the containr up:
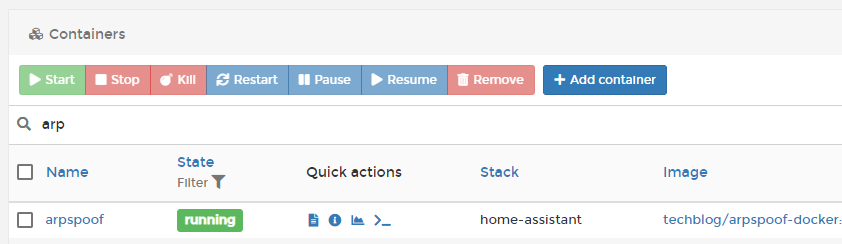
sudo docker-compose up -dIf you did everything correctly you should you container running:
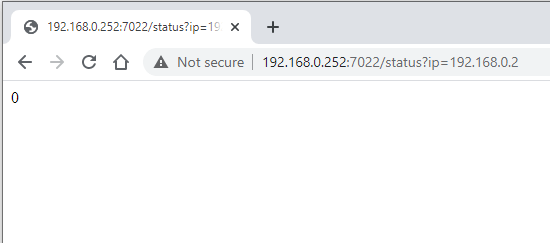
Now, let’s test our arpspoof container. open your browser and enter the following url:
http://[docker_ip_address]:7022/status?ip=[the ip you want to block]
you should see the following output:
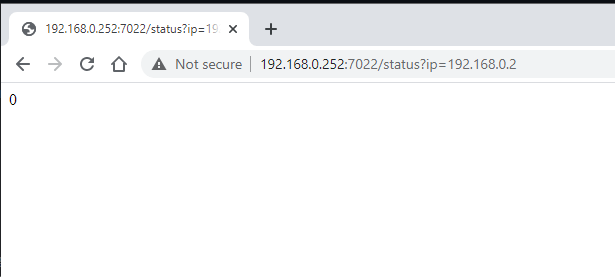
the current result will be “0” because there is no active blocking fot this ip address.
Now lets try to block this address by replacing “status” with disconnect command:
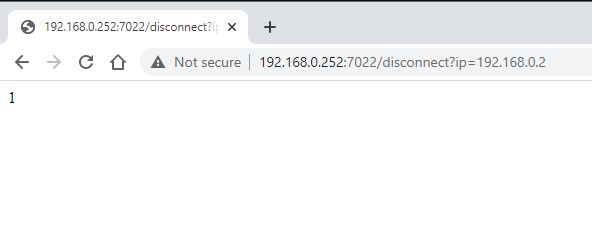
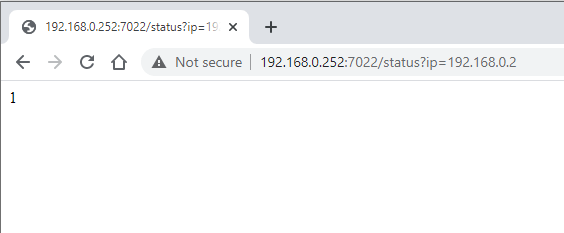
“1” meening that the blocking was successfuly applied and if Wi’ll check the status now we should get “1” as result”:
Now, let’s reconnect the computer to the internet by replacing “disconnect” with “reconnect”:
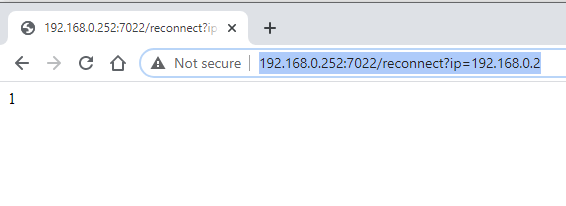
and once again, “1” meening that the command completed successfuly. and now the status result should be “0” again:
2. Configuring ArpSpoof switch in Home-Assistant
In order to use ArpSpoof with Home-Assistant, open your configuration file and add the following code under switches section
  - platform: command_line
    switches:
      kill_internet:
        command_on: "/usr/bin/curl -X GET http://[docker_ip]:7022/disconnaect?ip=[IP_to_Block]"
        command_off: "/usr/bin/curl -X GET http://[docker_ip]:7022/reconnect?ip=[IP_to_Block]"
        # command_state: "/usr/bin/curl -X GET http://[docker_ip]:7022/status?ip=[IP_to_Block]"
        value_template: '{{ value == "1" }}'
        friendly_name: Internet Kill Switch
- docker_ip – your docker server ip address
- IP_to_Block – the ip of the device you want to block.
using command state is an option, but be aware to the fact that you cannot change the interval of the state changes and this can result a misbehaviour of the switch.
Now, let’s add the switch to our lovelace ui by adding the following code to your card:
############## Killswitch Tab ############
  - name: Geo Loaction
    title: Geo Loaction
    icon: mdi:wan
    cards:
      - type: entities
        entities:
          - entity: switch.kill_internet

############## End Killswitch Tab ############
The result should be like this:
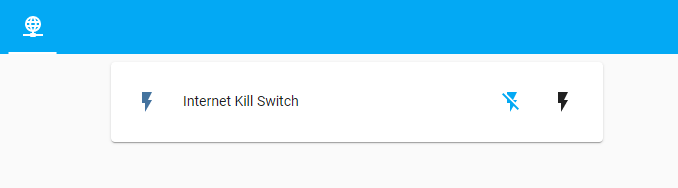
Here you can see a small demo of ArpSpoof in action:
Cheers!
Leave a Reply