
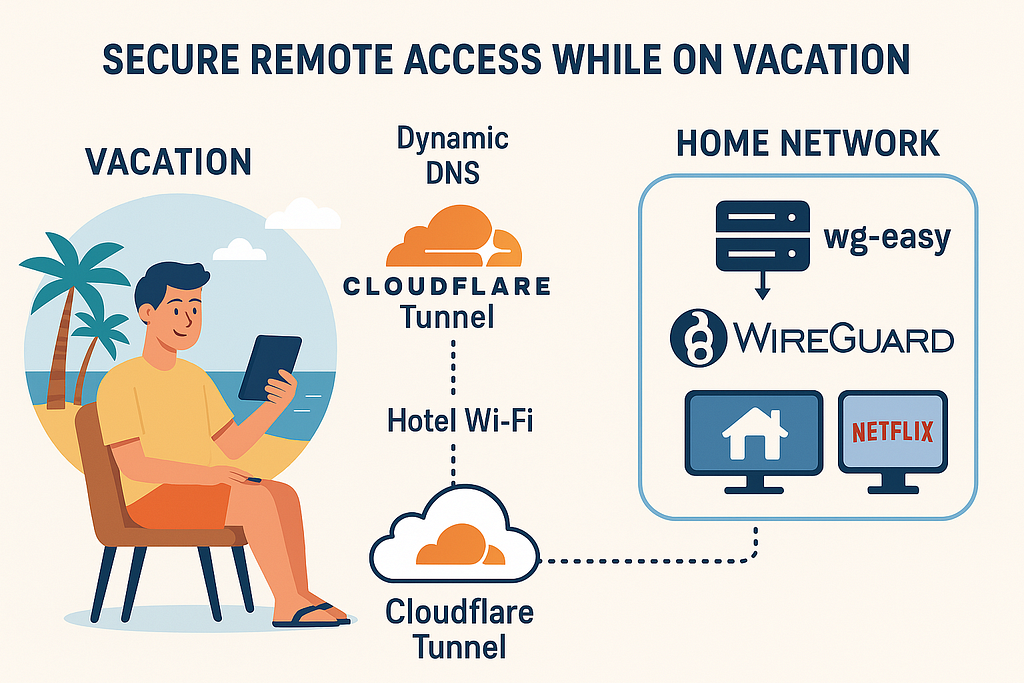
A few weeks ago, I was packing for a family vacation abroad. Like most people, I wasn’t planning to take my entire home network with me, but I did want to keep access to a few things:
- My home server with family photos.
- Streaming services (Netflix, local TV provider) that only work in my country
- My smart home dashboard
The challenge? My ISP gives me a dynamic IP, my router blocks incoming traffic unless I open ports, and I definitely didn’t want to leave my network UI exposed to the internet.
What You’ll Build
- A WireGuard VPN managed by wg-easy
- Cloudflare Tunnel to safely access wg-easy’s web UI (no port 51821 exposure)
- Port forwarding for UDP/51820 on your router for VPN traffic
- Dynamic DNS updates to Cloudflare via cloudflare-ddns so your clients always find you
Prerequisites
- A Linux server (Ubuntu 22.04/24.04 recommended)
- Docker + Docker Compose installed
- A Cloudflare account with a domain
- Access to your router for port forwarding
Step 1: Deploy wg-easy
I’m using Docker Compose to deploy the wg-easy instance using the following file:
volumes:
  etc_wireguard:

services:
  wg-easy:
    environment:
      - WG_HOST=dhd.klein.org.il          # your public DNS name / static IP
      - WG_ALLOWED_IPS=0.0.0.0/    # ← split-tunnel to your home LAN
      - WG_DEFAULT_DNS=192.168.0.231,1.1.1.1
      - WG_PERSISTENT_KEEPALIVE=25

    image: ghcr.io/wg-easy/wg-easy:15
    container_name: wg-easy
    networks:
      wg:
        ipv4_address: 10.42.42.42
        ipv6_address: fdcc:ad94:bacf:61a3::2a
    volumes:
      - ./wireguard:/etc/wireguard
      - /lib/modules:/lib/modules:ro
    ports:
      - "51820:51820/udp"
      - "51821:51821/tcp"
    restart: unless-stopped
    cap_add:
      - NET_ADMIN
      - SYS_MODULE
      # - NET_RAW # ⚠️ Uncomment if using Podman
    sysctls:
      - net.ipv4.ip_forward=1
      - net.ipv4.conf.all.src_valid_mark=1
      - net.ipv6.conf.all.disable_ipv6=0
      - net.ipv6.conf.all.forwarding=1
      - net.ipv6.conf.default.forwarding=1

networks:
  wg:
    driver: bridge
    enable_ipv6: true
    ipam:
      driver: default
      config:
        - subnet: 10.42.42.0/24
        - subnet: fdcc:ad94:bacf:61a3::/64
- WG_ALLOWED_IPS: Set to 0.0.0.0 if you want to access external IPs (WAN).
- 51820/UDP → must be forwarded on your router to the Docker host.
- No need to expose 51821/TCP (UI) — Cloudflare Tunnel will handle that.
Step 2: Secure the Web UI with Cloudflare Tunnel
I‘m using Cloudflare tunnel (Cloudflared) to secure access to the wg-easy UI. Why Cloudflare Tunnel? because it is the best way to allow access to the UI without exposing the port in your router, and also allows us to set better access control, like geo-blocking, WAF, and more.
Open you docker-compose file and add the following text into it:
  cloudflared:
    image: cloudflare/cloudflared:latest # or a specific version like 2025.8.22
    restart: unless-stopped
    command: tunnel run
    environment:
      - TUNNEL_TOKEN=${TUNNEL_TOKEN} # Recommended for dashboard-managed tunnels
- TUNNEL_TOKEN= The token of the tunnel you created in Cloudflare.
Then configure a tunnel that maps a DNS record (e.g., vpn-ui.example.com) → http://wg-easy:51821.
Advantages:
- No extra firewall ports open
- Protected by Cloudflare Access policies if desired (SSO, 2FA)
Step 3: Dynamic DNS with cloudflare-ddns
When your ISP gives you a changing IP, you can keep WG_HOST updated automatically.
Example docker-compose:
  cloudflare-ddns:
    image: oznu/cloudflare-ddns
    environment:
      - API_KEY=${CF_API_KEY}
      - ZONE=example.com
      - SUBDOMAIN=vpn
    restart: unless-stopped
Step 4: Router Configuration
To allow the client to access and connect to the VPN server, we need to expose (Port forwarding) the VPN UDP port:
- Forward UDP 51820 → Docker host
- Do not forward 51821 (UI is only accessible via Cloudflare Tunnel)
Step 5: Configure wg-easy
To start working with wg-easy, run the following command:
docker-compose up -d
This will start all the services we just configured.
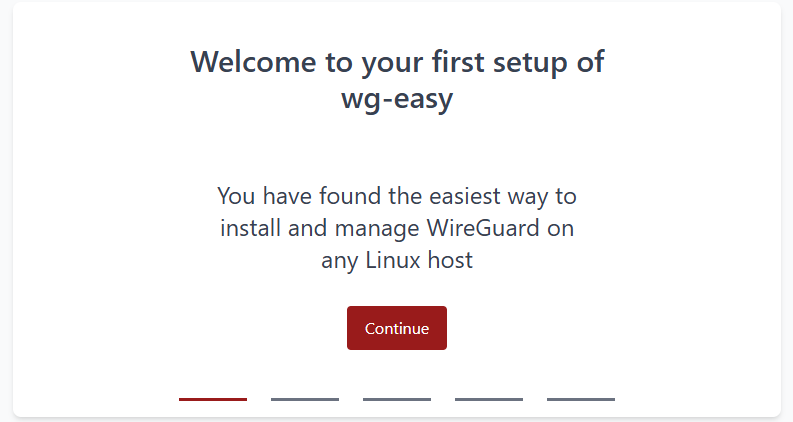
Next, open your browser and navigate to the URL you assigned to the wg-easy UI. On the welcome screen, click on the “Continue” button:
Next, create the admin account:

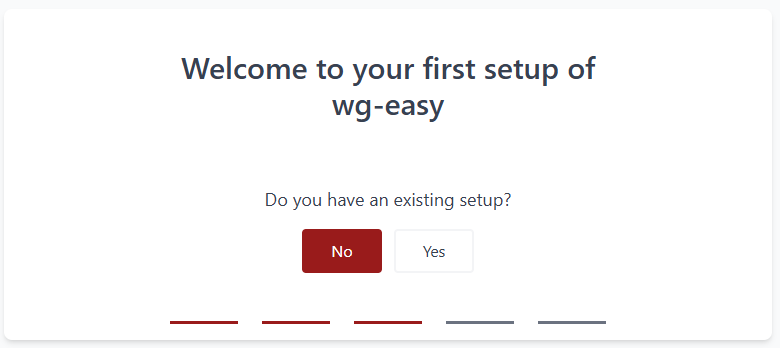
If this is a clean installation, on the next screen, click on the “No” button:
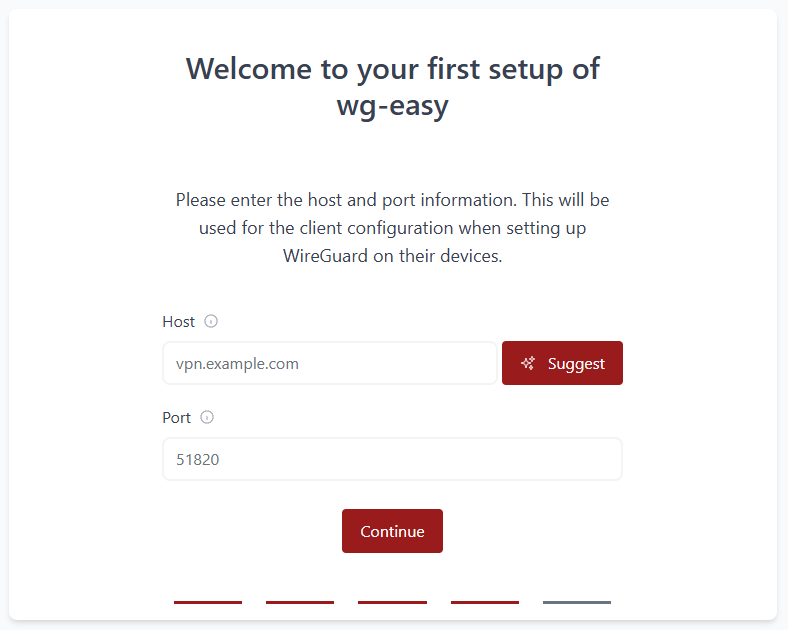
Next, enter the domain selected for the VPN server (not the wg-easy ui) and click on “Continue”:
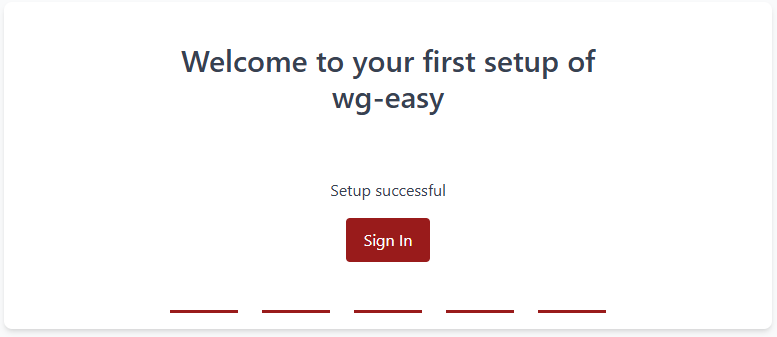
Next, click on “Sign In” to access the server UI:
Step 6: Create client configuration
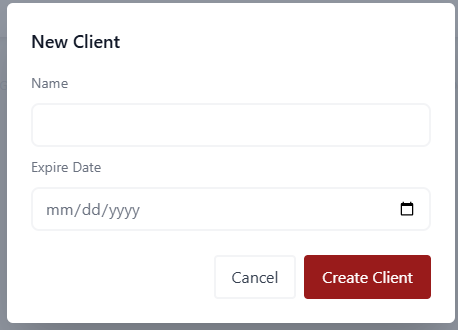
On the main screen of the wg-easy, click on the “New client” button:

Set the name of the profile you would like to create and set the expiration date (Optional but highly recomended):
Back to the profiles (clients) list:
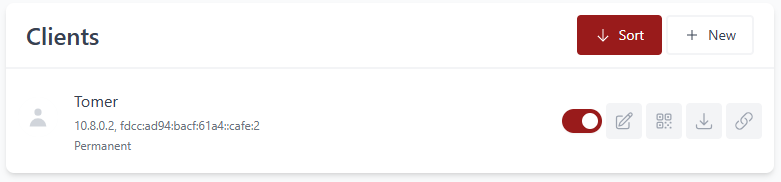
The icons (left to right):
- Edit: Allows you to edit the profile and change the allowed IPs, set the client IP, change the name, or the expiration date.
- QR: By scanning the QR, you can configure the client.
- Download: download the configuration file and import it on the client.
- Create a short-lived, one-time link to the configuration.
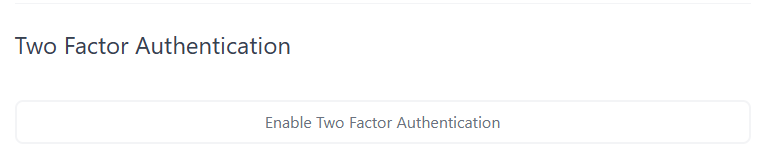
Step 7: Securing the UI with 2FA
As always, whenever it is possible, enable 2FA to secure your application.
To do so, click on “Administrator” in the upper right corner and then on “Account.”
Scroll down to the bottom of the page and click on “Enable Two Factor Authentication.”
Scan the QR code, enter the six-digit OPT, and click on the “Enable Two Factor Authentication” button.
To disable the 2FA, enter your password and click the “Disable Two Factor Authentication.” button:

Wrap Up
Traveling doesn’t mean losing access to your home network or streaming services. With a few Docker containers and Cloudflare, I now have a vacation-proof VPN that “brings home with me” wherever I go.
So next time I’m at a café in Rome or a hotel in Tokyo, I just tap my WireGuard app — and suddenly I’m home.
Leave a Reply