

Android is one of the most widely used operating systems in the world, powering billions of smartphones and tablets. In most cases, there is little reason to install Android on a physical computer. However, when working with development, testing, or long-running automation workloads, running Android inside a virtual machine can become not only useful but necessary. Thanks to Android-x86, Android can run reliably on virtualization platforms such as VMware Workstation, VirtualBox, and VMware ESXi.
While building WhatsApp-based automation solutions using WhatsApp Web and the Green API, I encountered a critical limitation. WhatsApp requires a phone that is always connected to the internet. Once the phone disconnects, WhatsApp Web sessions are terminated, disrupting automation flows and requiring re-authentication. Relying on a physical device proved fragile, difficult to monitor, and unsuitable for long-term, always-on scenarios.
To solve this, I moved WhatsApp to an Android virtual machine running on VMware ESXi. By hosting Android as a virtual machine VM), I gained a stable, server-grade environment that remains online 24/7, survives reboots, and eliminates the dependency on physical hardware. The result is a reliable, scalable foundation for WhatsApp automation, with WhatsApp Web sessions remaining active and automation flows running continuously without interruption.
Setting Up a New Android Virtual Machine on VMware ESXi
Before installing Android, the first step is to create a new virtual machine in VMware ESXi. This section walks through the full VM creation process using the ESXi Host Client, exactly as shown in the screenshots below.
Click here to download the android-x86_64–9.0-r2.iso file.
Step 1: Create a New Virtual Machine
From the ESXi Host Client, open the Virtual Machines view. This screen lists all existing VMs on the host.
Click Create/Register VM to create a new virtual machine.

Step 2: Select Creation Type
Choose Create a new virtual machine.
This option gives full control over hardware settings, which is required when installing Android-x86 manually from an ISO image.

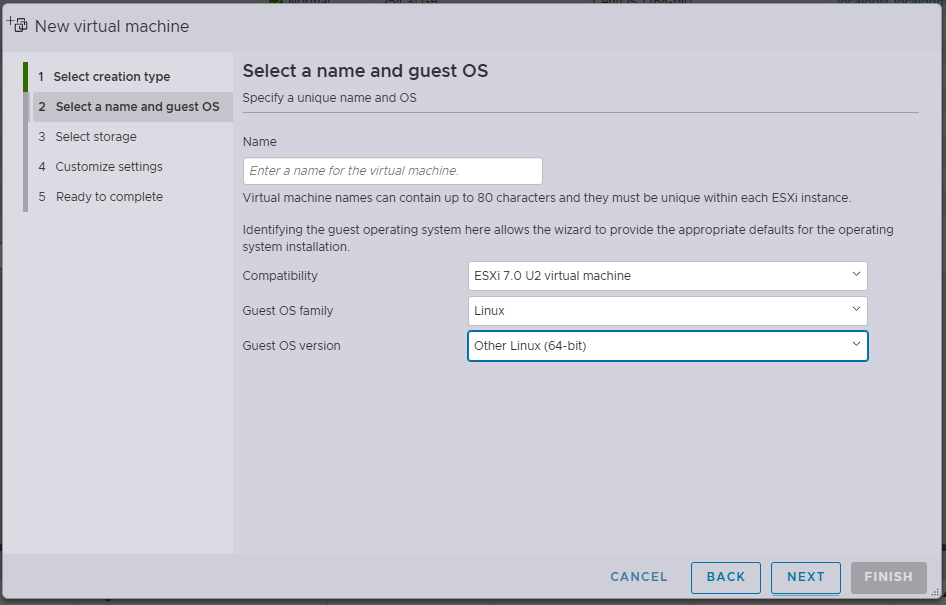
Step 3: Define VM Name and Guest OS
Set a meaningful name for the VM, such as Android or Android-WhatsApp.
Configure the guest OS as follows:
- Compatibility: ESXi 7.0 U2 virtual machine (or your current version)
- Guest OS Family: Linux
- Guest OS Version: Other Linux (64-bit)
Android-x86 is not listed explicitly, so this configuration works best.
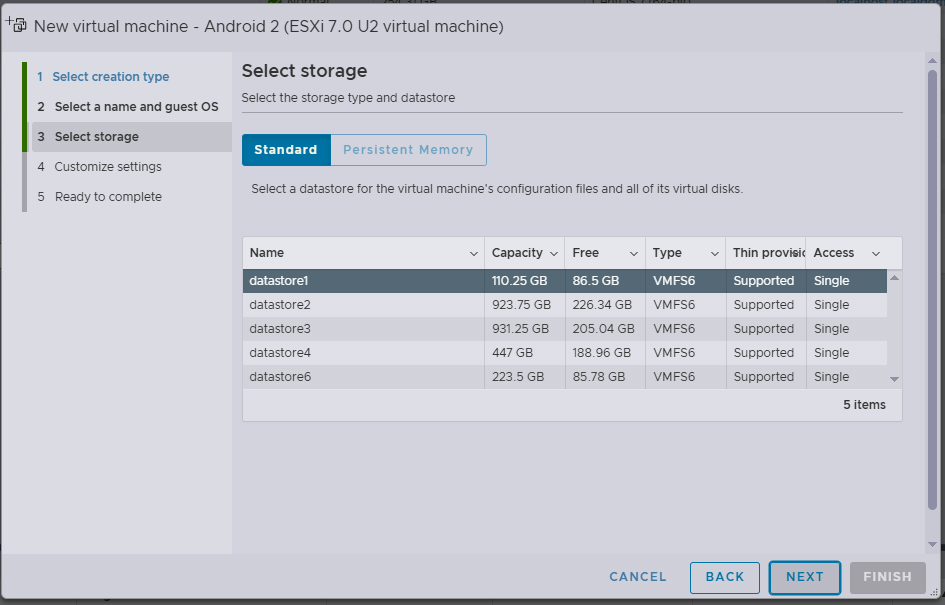
Step 4: Select Datastore
Choose the datastore where the VM configuration files and virtual disk will be stored.
Make sure the selected datastore has enough free space for Android, WhatsApp, and future data growth.
Step 5: Customize Virtual Hardware
Configure the virtual hardware with stability and performance in mind.
Recommended settings:
- CPU: 2 vCPUs
- Memory: 8–16 GB
- Hard Disk: 16 GB or more
- SCSI Controller: LSI Logic Parallel
- Network Adapter: VM Network (Connected)
- USB Controller: USB 2.0
- CD/DVD Drive: Host device (will be attached to ISO next)
These settings provide a stable environment for running Android and WhatsApp continuously.

Attach the Android-x86 installer ISO to the virtual CD/DVD drive.
From the Datastore Browser, select the uploaded ISO file, for example:
android-x86_64-9.0-r2.iso
Ensure the CD/DVD drive is Connected, so the VM boots into the installer.

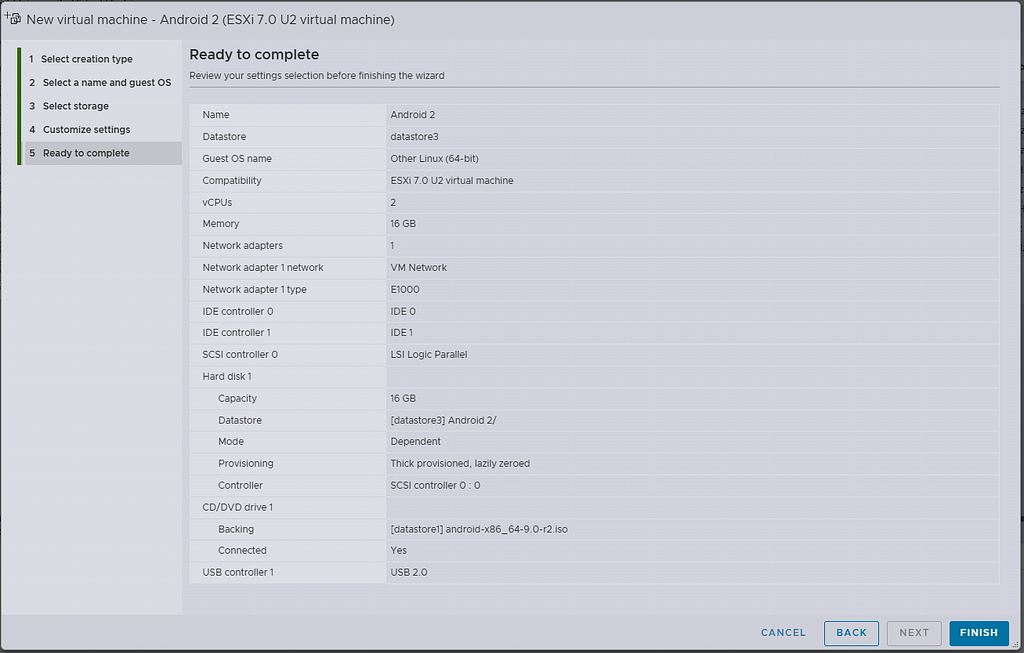
Step 7: Review and Complete
Review the final VM configuration summary:
- CPU and memory
- Disk size and provisioning
- Network adapter
- ISO attachment
Once everything looks correct, click Finish to create the virtual machine.
The VM is now ready to be powered on and proceed with the Android installation.
Installing Android Inside the ESXi Virtual Machine
Once you’ve created the Android VM and attached the Android-x86 ISO in the CD/DVD drive, you’re ready to install Android just like you would on a physical PC.
Step 1: Power On the Android VM
Power on the VM you created in the previous section, then open the Console. The VM will start booting from the Android-x86 ISO you attached.
Step 2: Select the Installation Option
When the Android installer menu appears, use the arrow keys to highlight:
Installation – Install Android-x86 to harddisk

Then press Enter to start the installer.
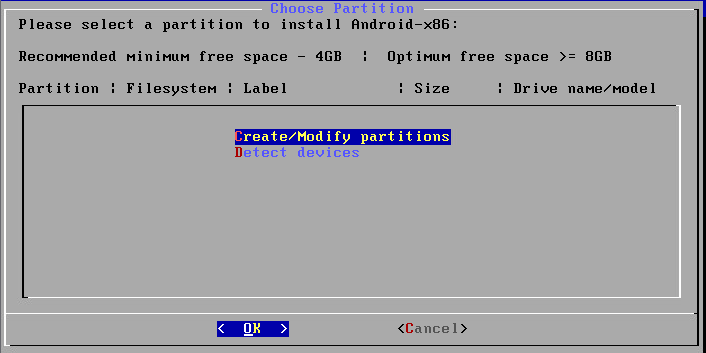
Step 3: Create or Modify Partitions
Choose Create/Modify partitions:
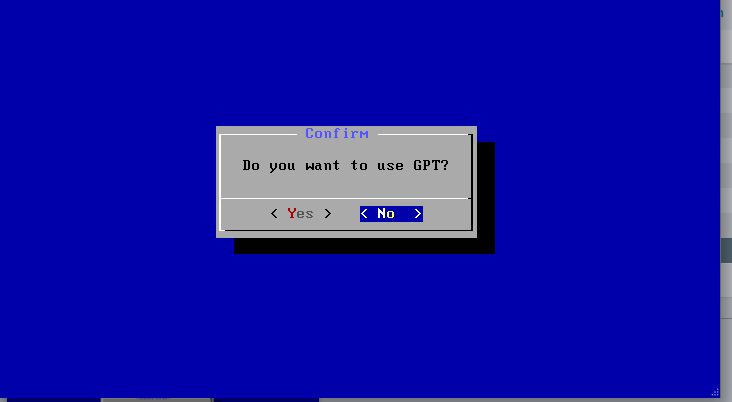
Confirm. Select No when you see the “Do you want to use GPT?” question.
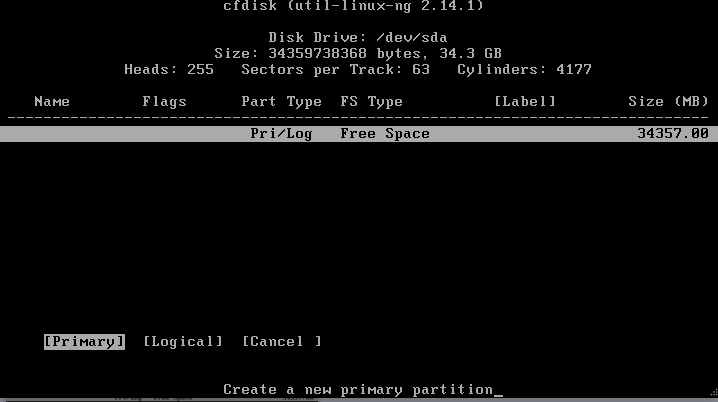
The cfdisk utility is now opened. Select New to create a new disk partition.

Select Primary to create a primary partition.
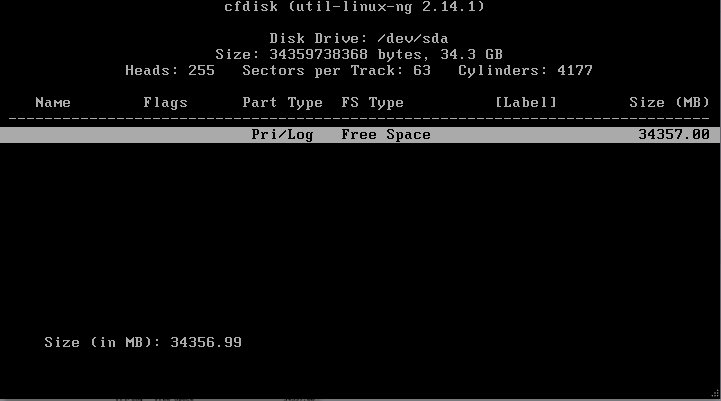
Set all available space on the virtual disk to be used as a partition for installing Android on VMware.
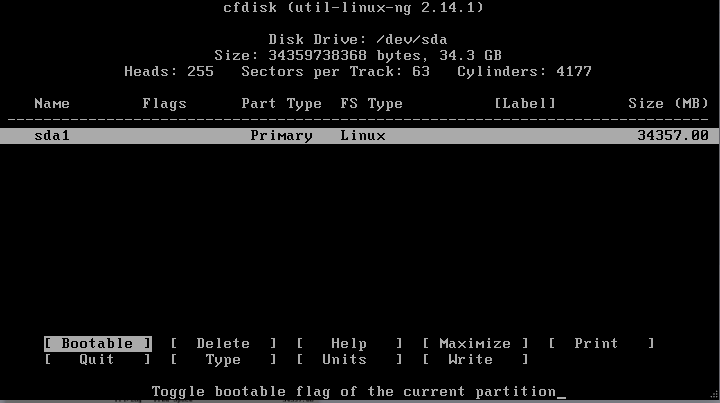
After creating a new partition, make the partition bootable. Select the partition, navigate to the Bootable option, and press Enter.
Once the Boot flag is enabled for the partition, save the changes to the disk. Go to the Write option and press Enter. You will then be prompted with the question:
“Are you sure you want to write the partition table to disk? (yes or no)”
Type yes and press Enter to confirm.
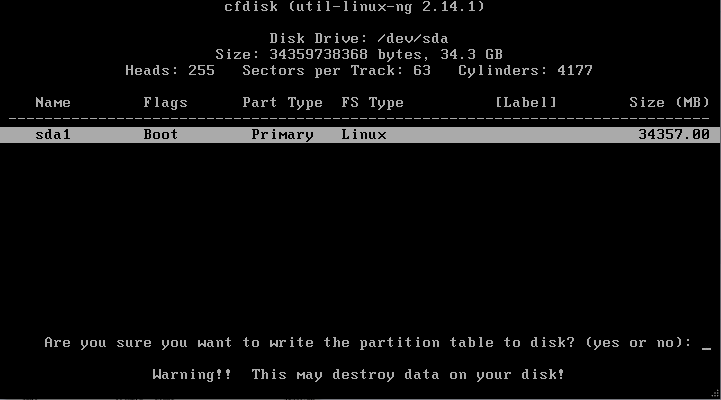
The partition has now been created. You can exit cfdisk by selecting the Quit option.

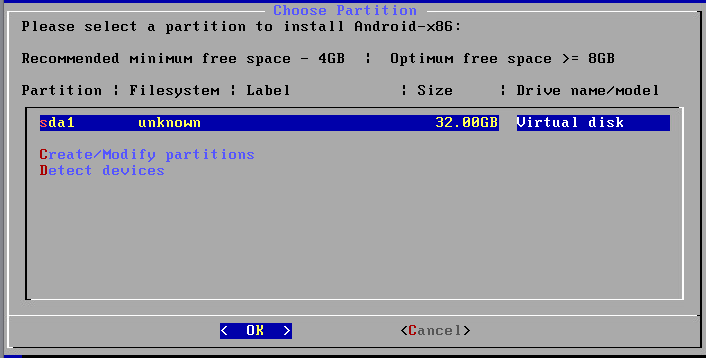
On the Choose Partition screen, you will see the newly created 8-GB partition. Select it and click OK to proceed.
Choose the filesystem type and select ext4 to format the sda1 partition that was created in the previous step.
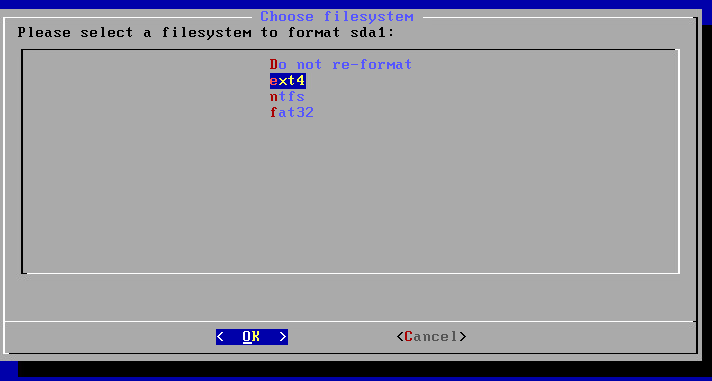
Confirm. Select Yes to confirm that you want to format the sda1 partition.

Do you want to install boot loader GRUB? Hit Yes.

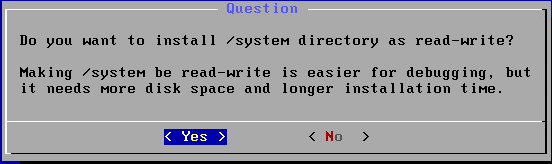
When prompted with the question “Do you want to install the /system directory as read-write?”, select Yes.
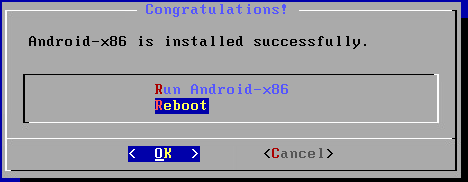
Congratulations! Android-x86 has been installed successfully. Click OK to reboot the machine.
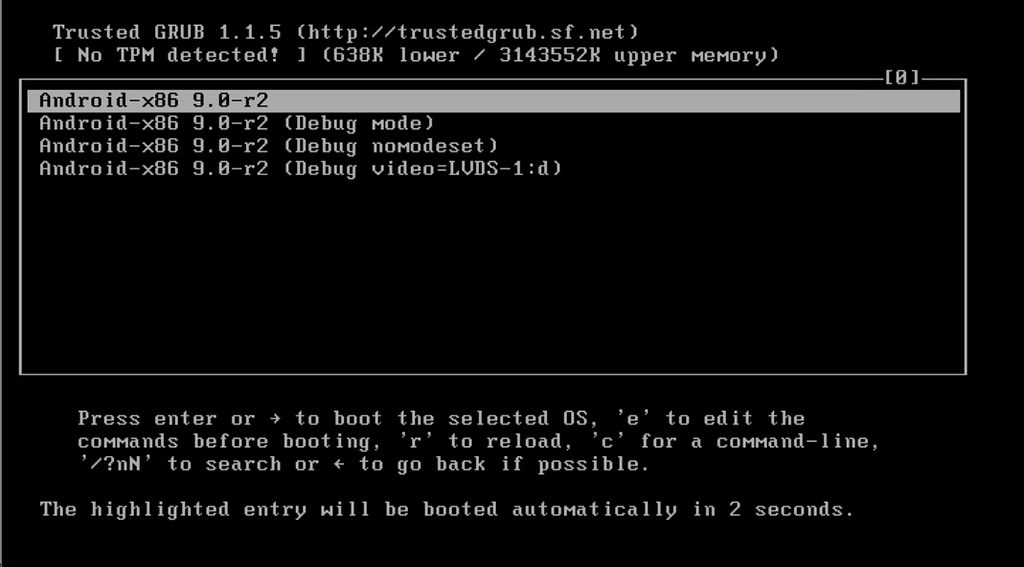
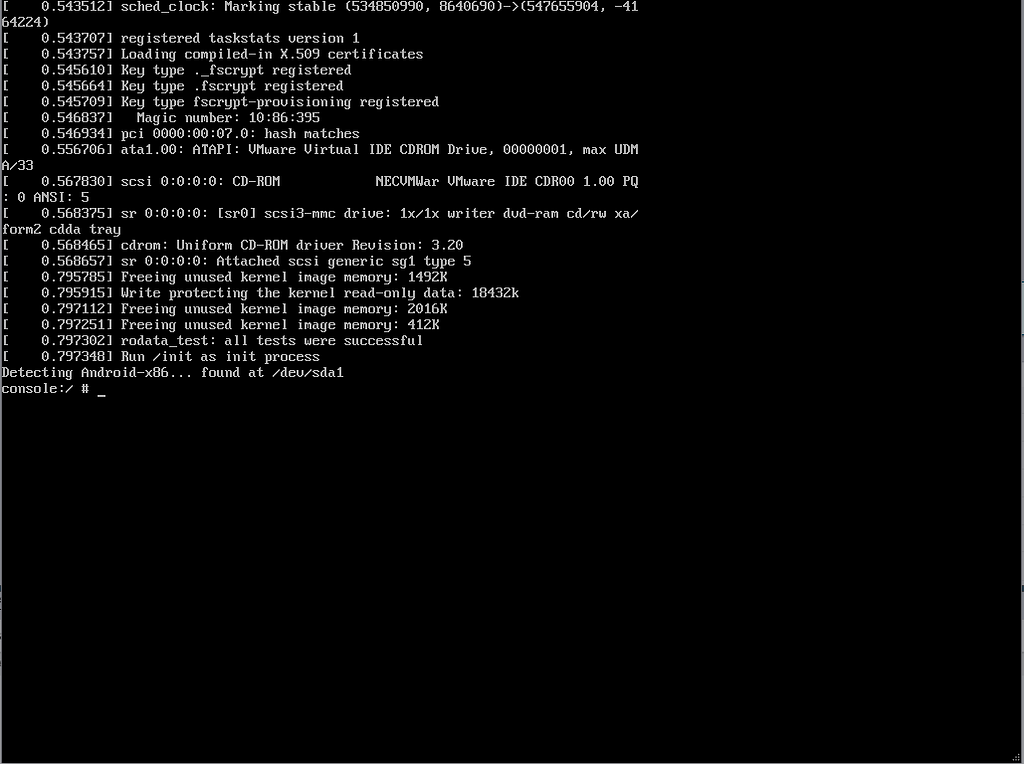
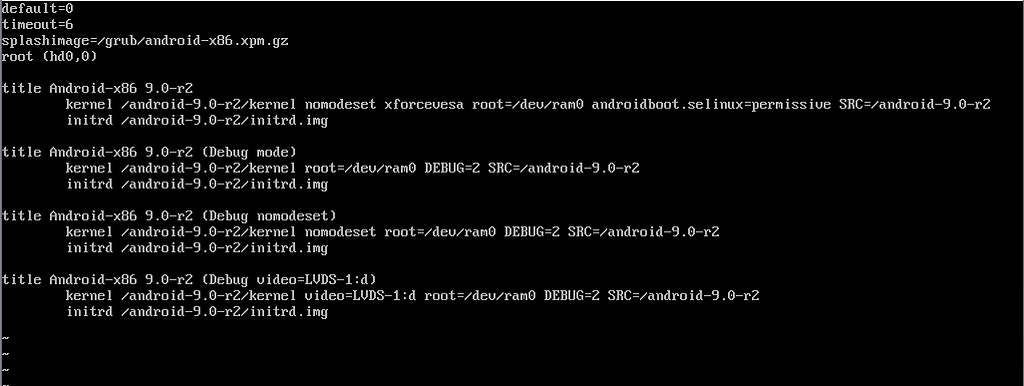
After the Android VMware virtual machine restarts, the GRUB boot menu will appear. If no action is taken, the first (highlighted) option is selected automatically; however, Android will not boot properly. Instead, you will only see a command prompt.

To fix this issue, select the first boot option, then press e to edit the boot commands before booting.
After that, you can see existing boot commands in the boot sequence. Select the upper item as shown on the screenshot below and press e once more to edit the boot command for GRUB.

Edit the string and change quiet to nomodeset xforcevesa
Finally, your boot command for GRUB must be:
kernel /android-9.0-r2/kernel nomodeset xforcevesa root=/dev/ram0 androidboot.selinux=permissive SRC=/android-9.0-r2
After editing the boot command, press Enter to return to the boot menu. Then click on b to boot.
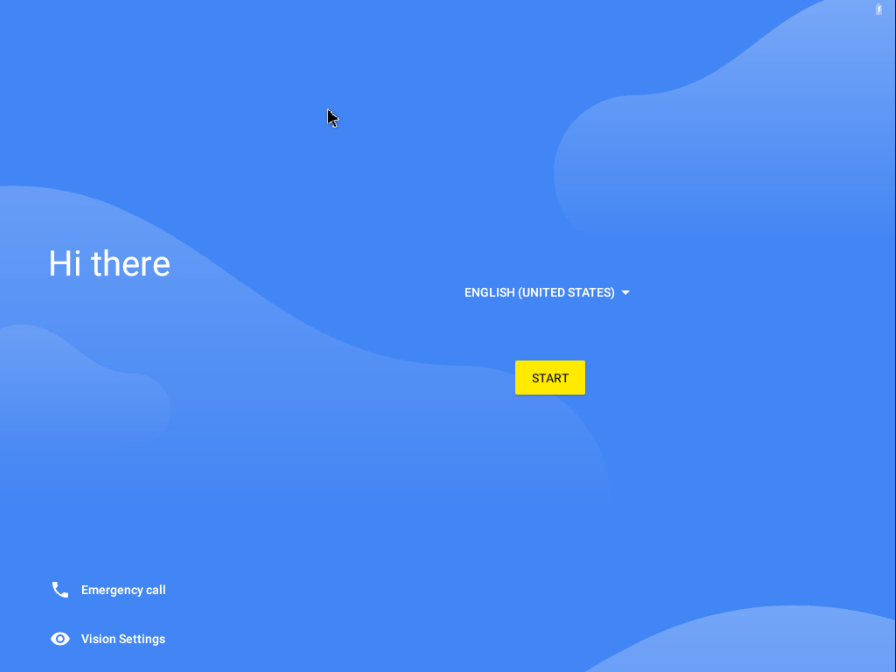
Now that the Android VMware VM is booted, you can see the Android graphical user interface. Select your preferred language and hit Start. In this walkthrough, English (United States) is used.
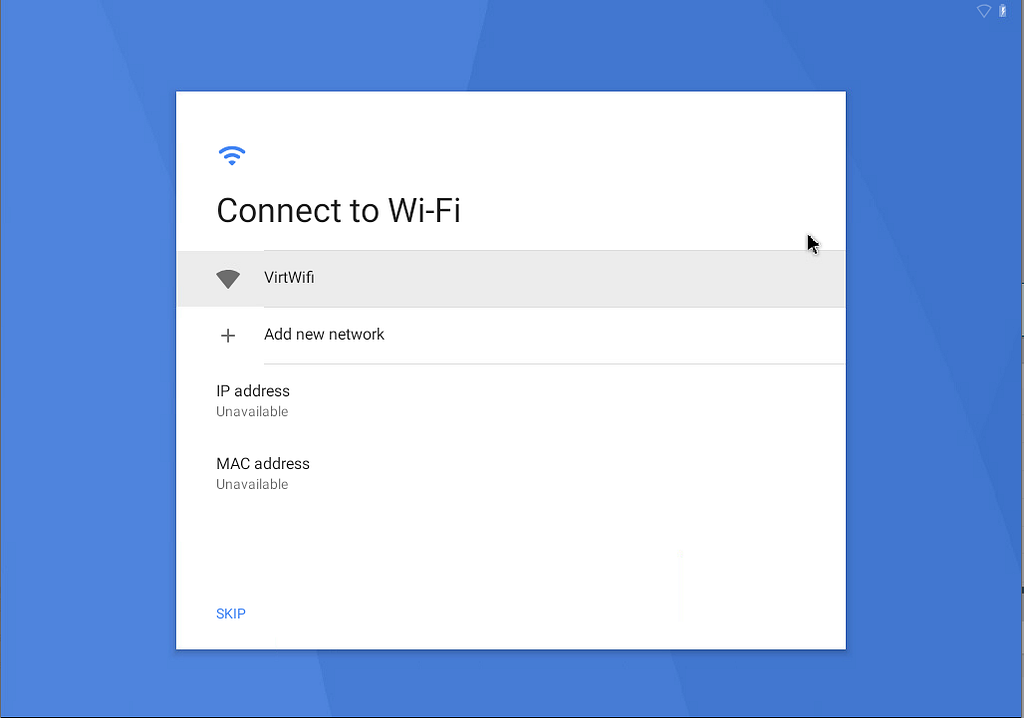
Connect to a Wi-Fi network. Android is designed primarily for mobile devices, which typically do not have an RJ-45 Ethernet port and rely on wireless connectivity. As a result, Android does not detect wired networks. Click See all Wi-Fi networks anyway, since an internet connection is essential for most Android applications.
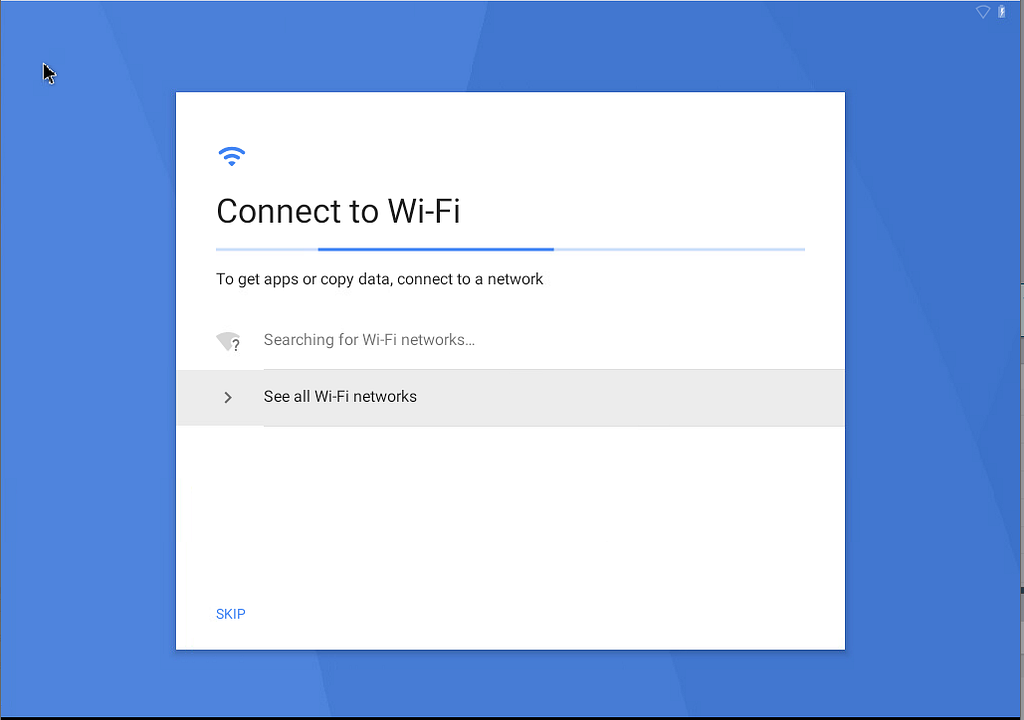
On the next screen, you should see the VirtWiFi network. This represents the network to which the virtual Ethernet controller of your Android VMware virtual machine is connected.
Alternatively, you can use a USB Wi-Fi adapter and connect it directly to the VM, as described in our blog posts about installing Kali Linux on VMware and VirtualBox hypervisors. To do this, plug a USB Wi-Fi adapter into a USB port on the physical machine running the VMware hypervisor (VMware ESXi or VMware Workstation) and enable it using the USB pass-through feature.
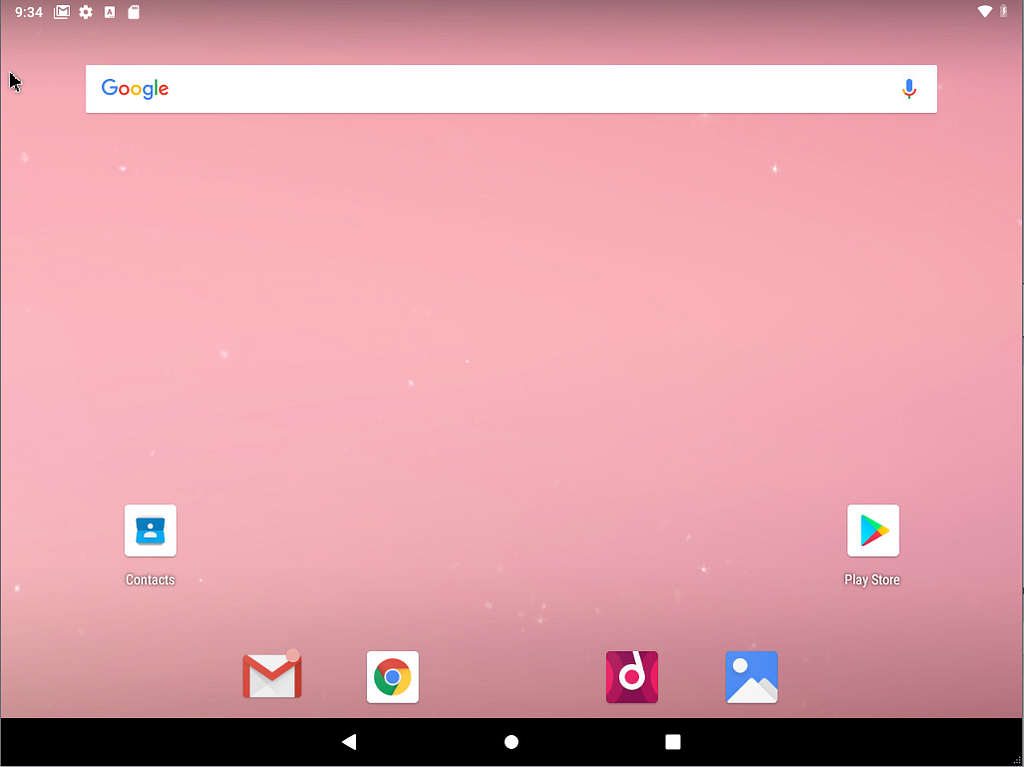
Configure the Date & time, set up a user name, and sign in using a Gmail account, adjusting Google services options as needed. After completing all steps in the Android setup wizard, you will be taken to the main Android interface.
Edit GRUB Configuration
As you may recall, we edited the GRUB configuration to boot the Android VMware virtual machine, but those changes are not preserved after a reboot. To make the boot loader settings permanent, we need to update the GRUB configuration accordingly.
After Android finishes loading, press Alt + F1 to open the console. Then, run the required commands in the console.
Create a directory to which a virtual disk will be mounted:
mkdir /mnt/sda
Mount the virtual disk to the created directory:
mount /dev/block/sda1 /mnt/sda
Edit the GRUB bootloader boot menu with the text editor vi:
vi /mnt/sda/grub/menu.lst
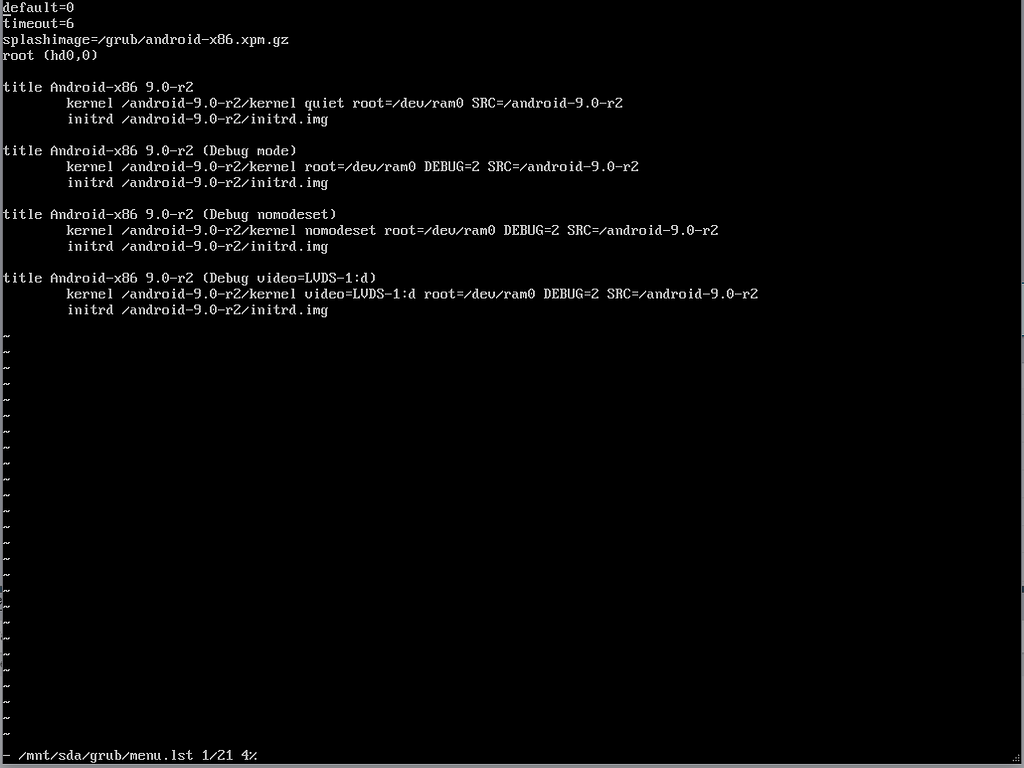
As you did earlier, edit the first boot option and replace quiet with nomodeset xforcevesa.
After making this change, the first boot loader option string should appear as follows:
kernel /android-9.0-r2/kernel nomodeset xforcevesa root=/dev/ram0 androidboot.selinux=permissive SRC=/android-9.0-r2
Press Esc, then type :wq to write changes to the file and quit.
After that, reboot the Android VMware virtual machine. Android should now boot successfully without requiring any manual intervention.
Keeping the Screen Always On
After installing Android and completing the initial setup, there’s one critical configuration step that’s easy to overlook but absolutely essential for long-running WhatsApp automation: enabling Developer Options and keeping the screen always on.
Why This Matters
WhatsApp behaves like a real mobile application. If Android enters deep sleep, turns off the screen, or aggressively manages background processes, WhatsApp Web sessions may disconnect or become unstable. In a virtualized, always-on environment, we want Android to behave like a phone that is constantly powered and active.
Step 1: Enable Developer Options
By default, Developer Options are hidden in Android. To enable them:
- Open Settings
- Scroll down and enter About tablet or About phone (the wording depends on the Android-x86 build)
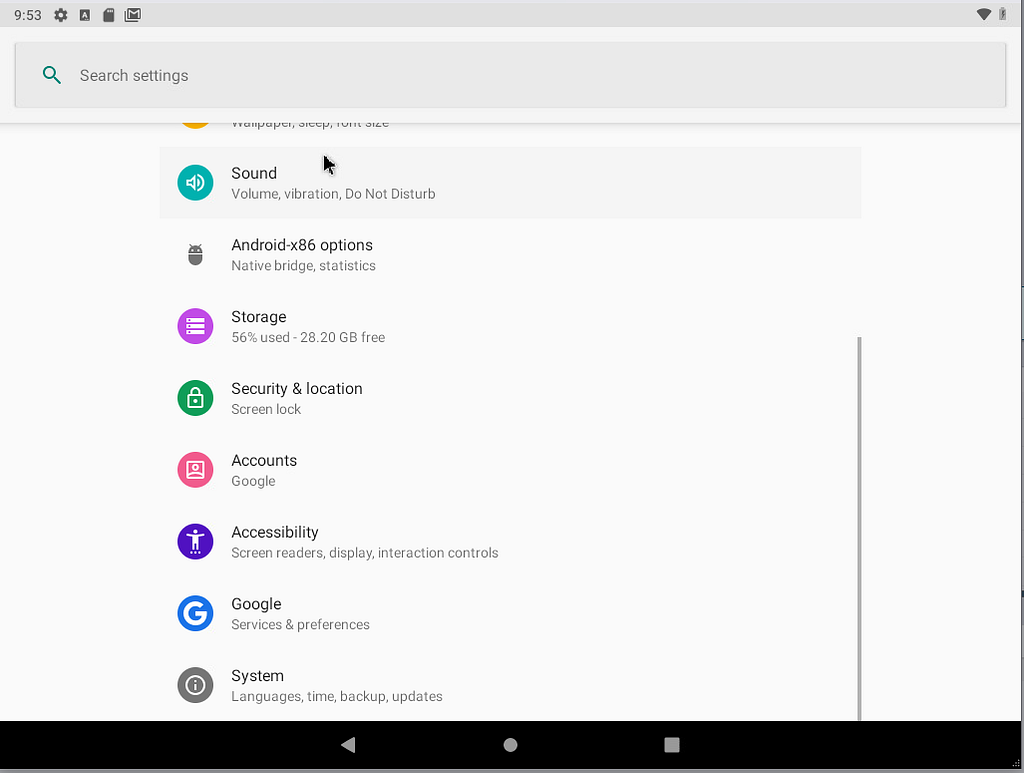
- Locate Build number

- Tap Build number repeatedly (usually 7 times)
- You’ll see a message confirming that Developer mode has been enabled
Once enabled, go back to the main Settings .
Step 2: Open Developer Options
Now, click on “Advanced”
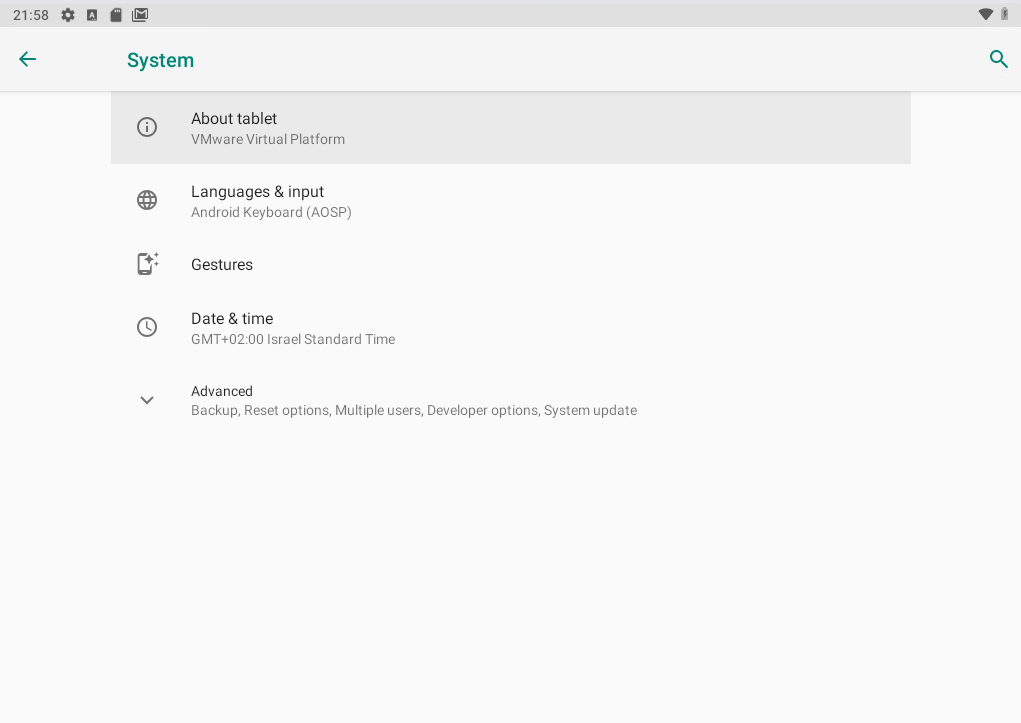
And enter “Developer options.”
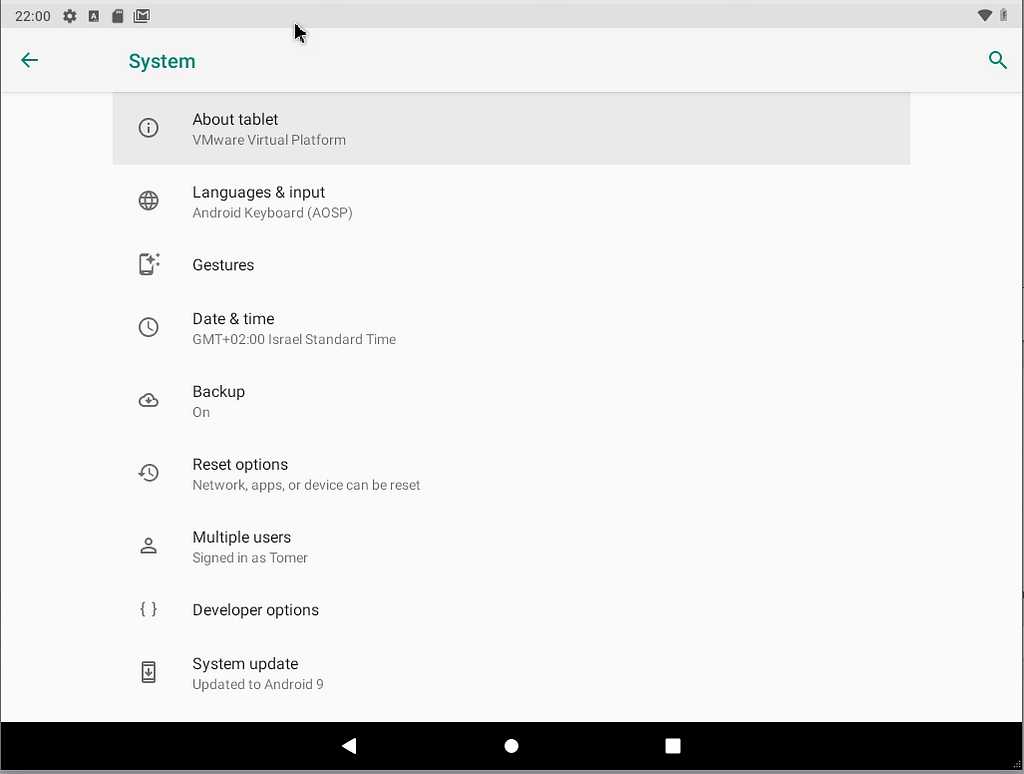
And turn on “Stay awake.”
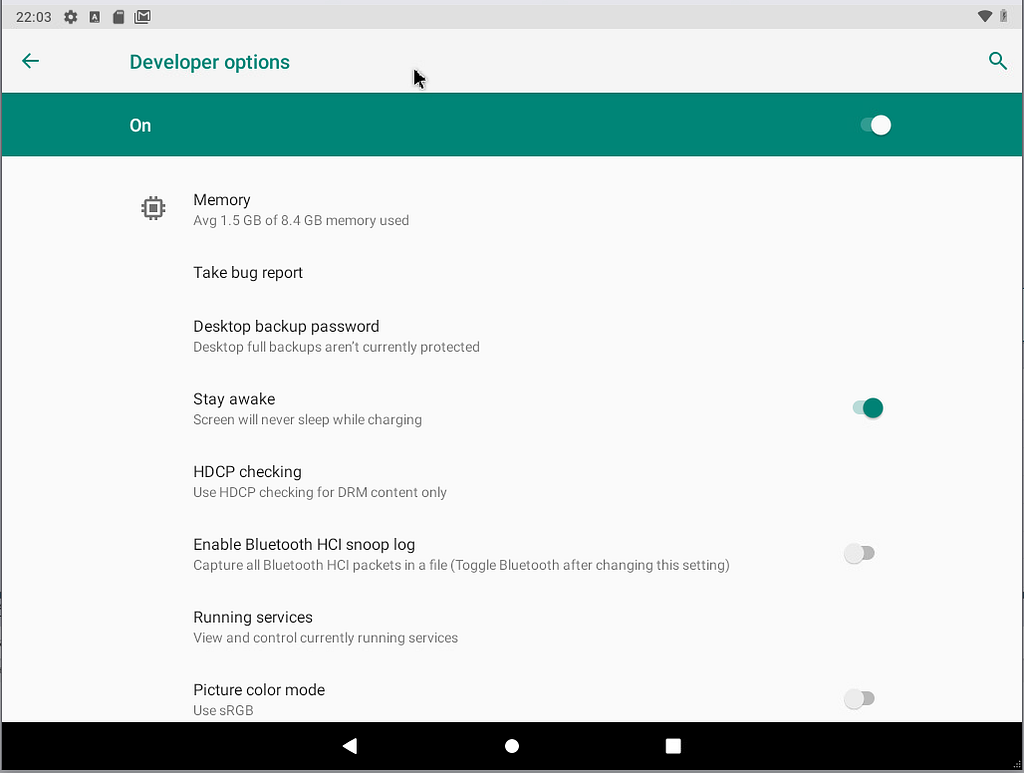
What this does:
- Prevents the screen from turning off
- Keeps Android active as long as the VM is powered on
- Avoids background suspension that can interfere with WhatsApp
In a virtual machine environment, Android is effectively “always charging”, so this setting ensures the screen never sleeps.
Leave a Reply